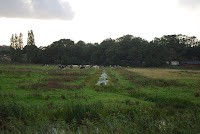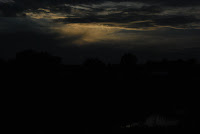
The top left image is what I chose to use for the landscape in my montage, and I used the image below for the sky. I took both photos on my digital SLR. The top image was taken with fairly standard settings, but for the photo of the sky, which was actually taken in daylight, I used a fast shutter speed (1/500) and a small aperture (F32) to capture the sky as if it were night. The sunlight coming through the clouds can be seen because it was bright
 enough to saturate the film, even with the fast shutter speed and small aperture.
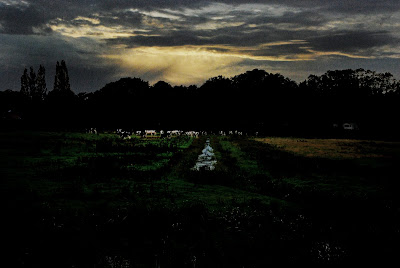
This is an montage I made in Photoshop using two photos I had previously shot. From one image I used the landscape, and from the other I used the sky.
To create this picture I had to layer the two photos. I did this by using the 'magic selection' tool in Photoshop - selecting either what I did or didn't want and keeping or discarding the selection. I then layered the sky behind the tree line of the other image. At this point I found that there was light from the sun in the landscape image, being shone on the trees that was not in keeping with the image I was creating. To get rid of this light I used the 'Burn' tool on the trees, which darkened the highlights on the trees until they were totally black (shadow).
By using the 'Levels' adjustment on the two separate layers I was able to make the image look like one, creating similar lighting in both images. Now that the two images looked like one, I was able to flatten the image and begin editing as if it were a normal image in Photoshop.
Using the 'levels' adjustment tool again, I changed the lighting of the whole image to make it appear darker like night conditions. I then used the 'sponge' tool to saturate the image from the centre outwards, and leaving the outskirts of the image less saturated. This created a kind of fading frame. I also used the burn tool to darken the outskirts.
Because the image had been so heavily edited at this point, much of the colour and tonal quality had been lost. To regain some of this quality I used the Hue/Saturation and Shadows/Highlights adjustment tools, which brought back some of the tones lost and got rid of some of the large blotches of colour.
No comments:
Post a Comment